Are unsightly wall imperfections bringing down the look of your home?
Don’t worry – with a little know-how and some elbow grease, you can tackle wall repair like a pro! In this comprehensive guide, Blue Bull Construction shares essential tips and step-by-step instructions for DIY wall repair that will have your walls looking as good as new in no time.
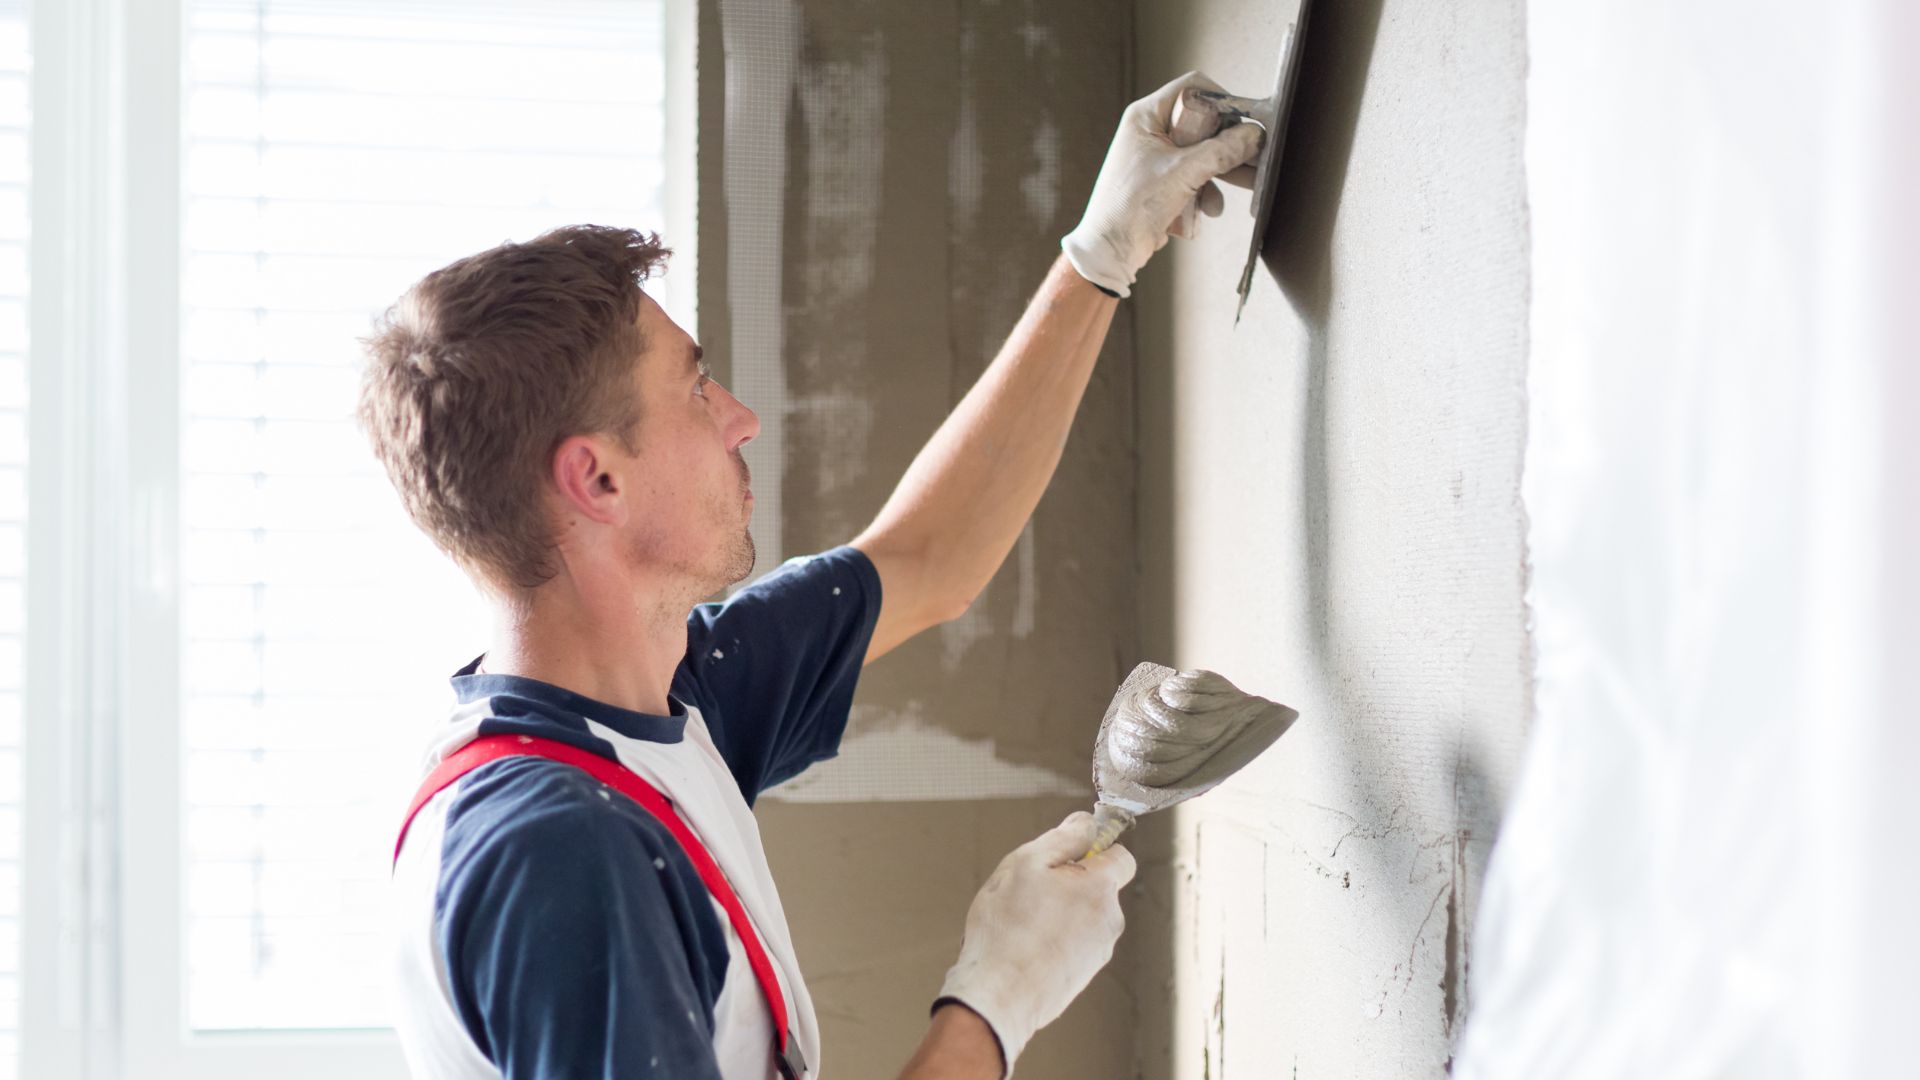
Assessing the Damage: Before diving into your DIY wall repair project, take the time to assess the extent of the damage. Common issues include cracks, holes, and dents caused by everyday wear and tear. Identify the type and severity of damage to determine the best course of action for repair.
Gathering Your Tools and Materials: To successfully repair your walls, you’ll need a few key tools and materials:
- Putty knife
- Sandpaper
- Spackle or joint compound
- Drywall tape (if repairing larger holes)
- Primer and paint
- Paintbrush or roller
Step-by-Step Wall Repair:
- Prepare the Surface: Start by removing any loose debris or chipped paint from the damaged area. Use a putty knife to gently scrape away any loose material until you have a smooth, clean surface to work with.
- Fill in Holes and Cracks: For small holes and cracks, apply a thin layer of spackle or joint compound using a putty knife. Smooth the compound evenly over the damaged area, then allow it to dry completely.
- Sand and Smooth: Once the spackle or joint compound is dry, use fine-grit sandpaper to sand the repaired area until it’s smooth and level with the surrounding wall surface.
- Apply Drywall Tape (if necessary): For larger holes or cracks, apply drywall tape over the damaged area before applying joint compound. This helps reinforce the repair and prevent future cracking.
- Apply a Second Coat of Compound: If needed, apply a second coat of spackle or joint compound over the repaired area to ensure a seamless finish. Allow the compound to dry completely before sanding again.
- Prime and Paint: Once the repaired area is smooth and dry, apply a coat of primer followed by paint to match the rest of the wall. Use a paintbrush or roller to blend the repaired area with the surrounding wall surface.
Conclusion: With the right tools and techniques, DIY wall repair is a manageable task that can save you time and money. Follow these step-by-step instructions from Blue Bull Construction to tackle common wall imperfections and restore the beauty of your home with confidence!
#DIYWallRepair #HomeImprovement #DIYProjects